 Written by
 Welcome to my home colour grading studio!
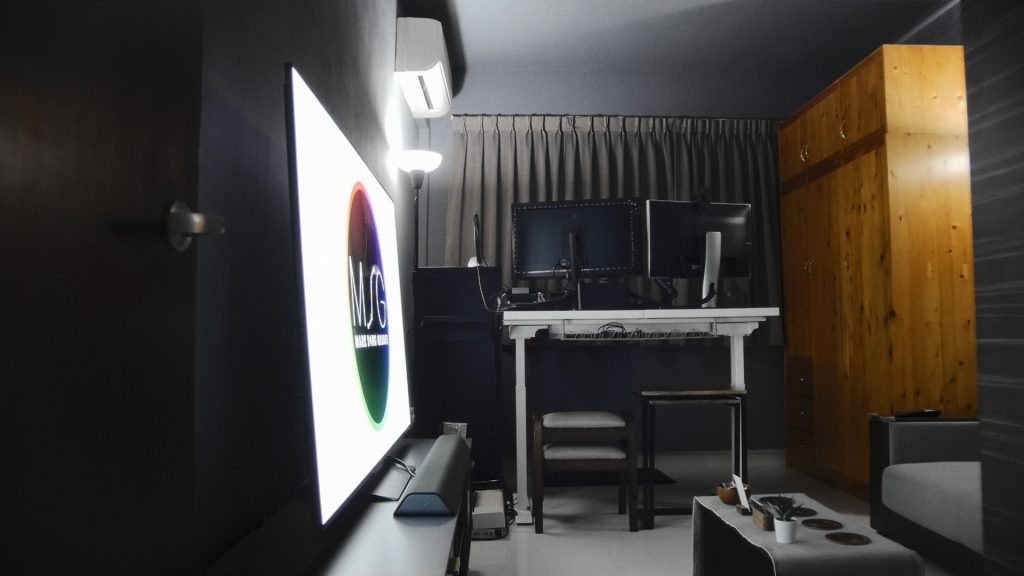
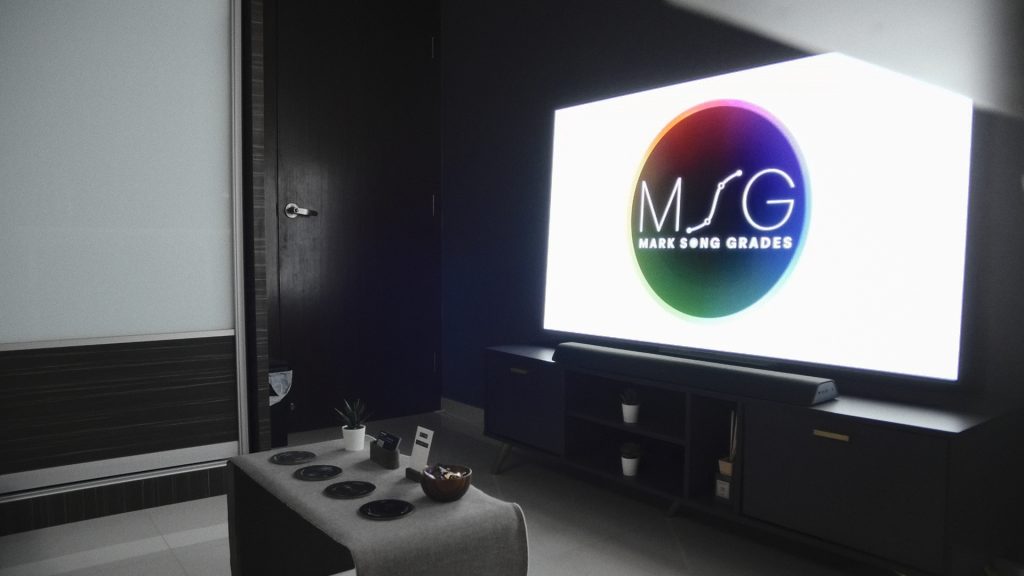
I’m based in Singapore, and this room is part of the flat that I live in. The first thing I needed to do in order to convert this room into a professional grading suite was to paint it to a neutral colour.
Designing the Room
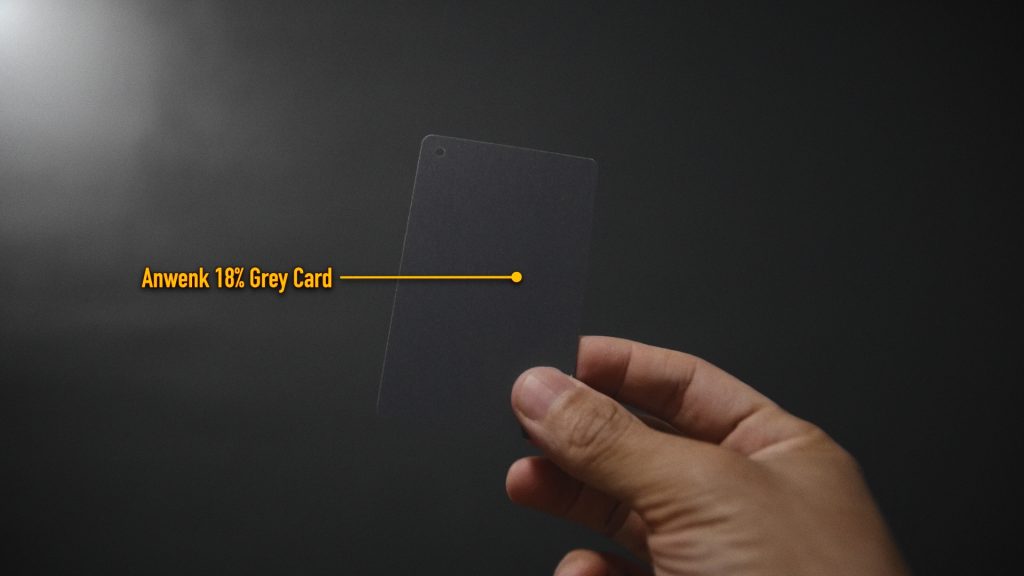
A fellow Singaporean colorist friend, JB, gave me the idea to get an 18% grey card commonly used for photography as a reference to get it matched at my neighbourhood Nippon Paint store.
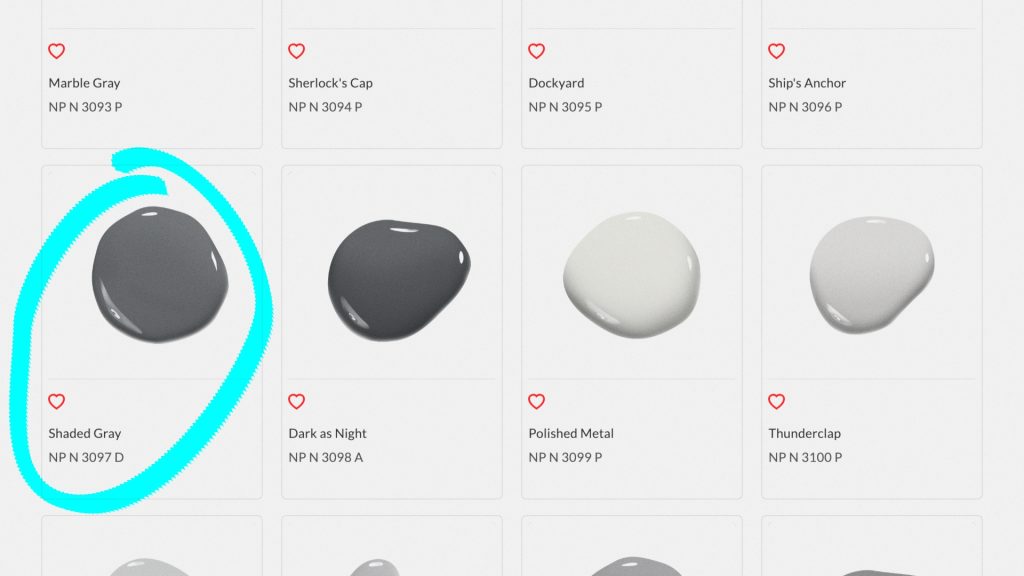
After comparing it with their catalog, this was the shade of grey that matched the grey card the closest.
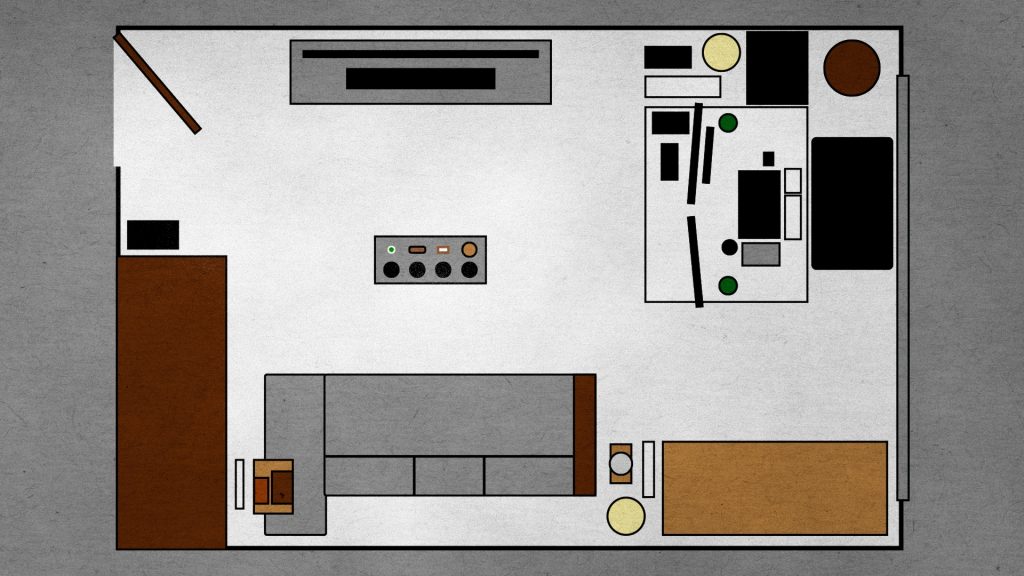
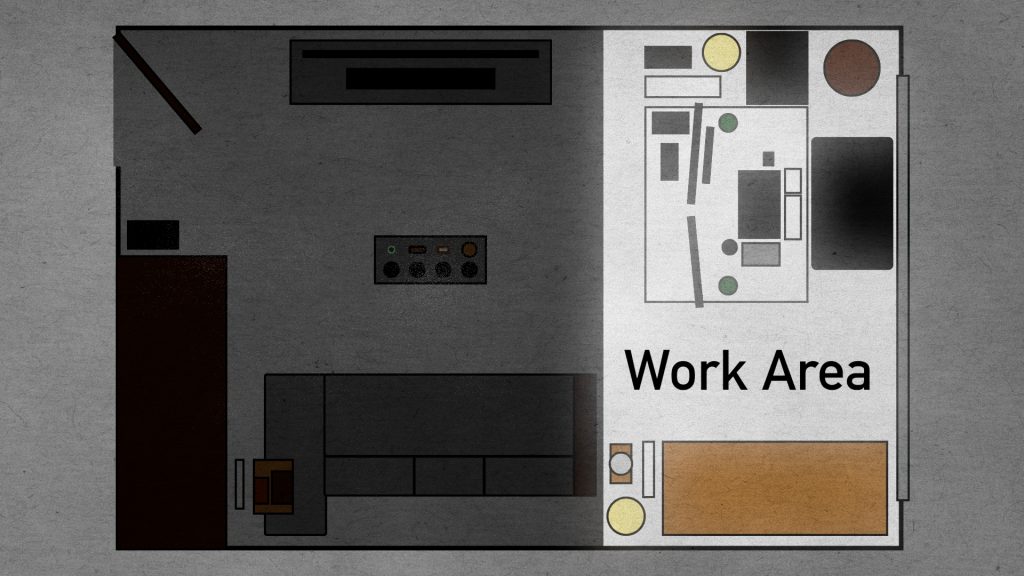
Next was designing the layout. There are two areas in my studio: 1. the client area where my clients sit back and watch the grade unfold on the TV, and 2. the work area where I do my grading.
Client Area
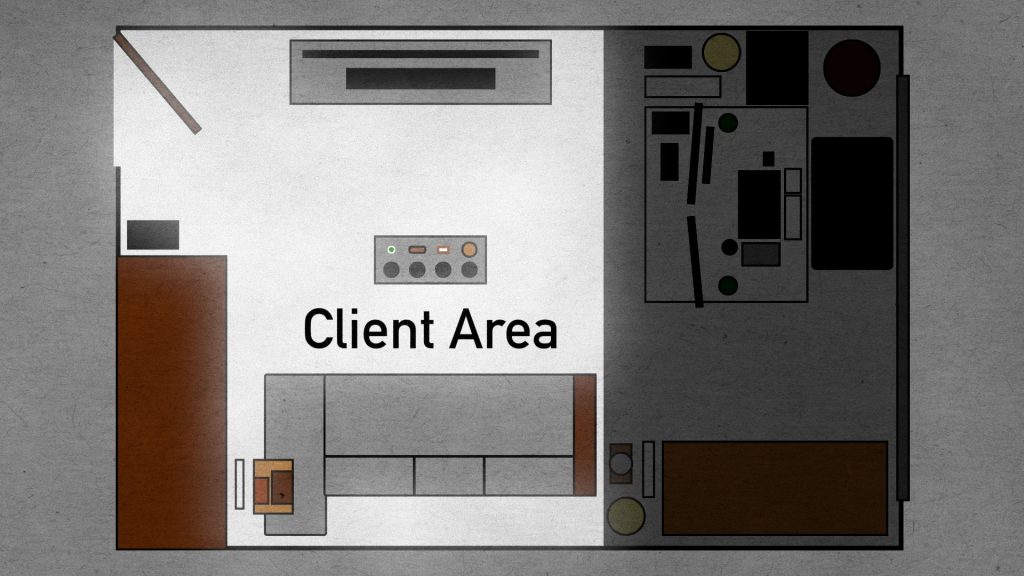
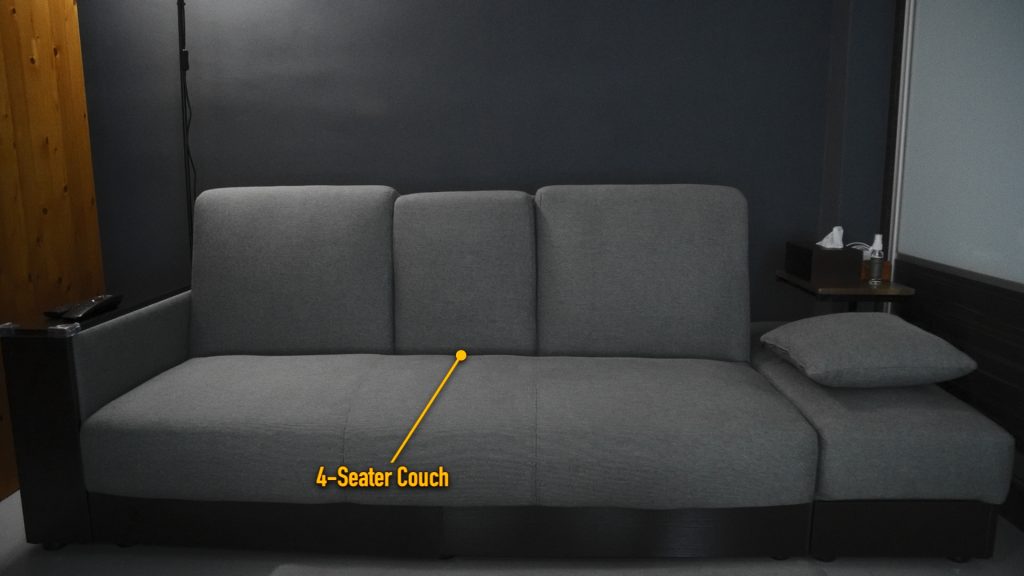
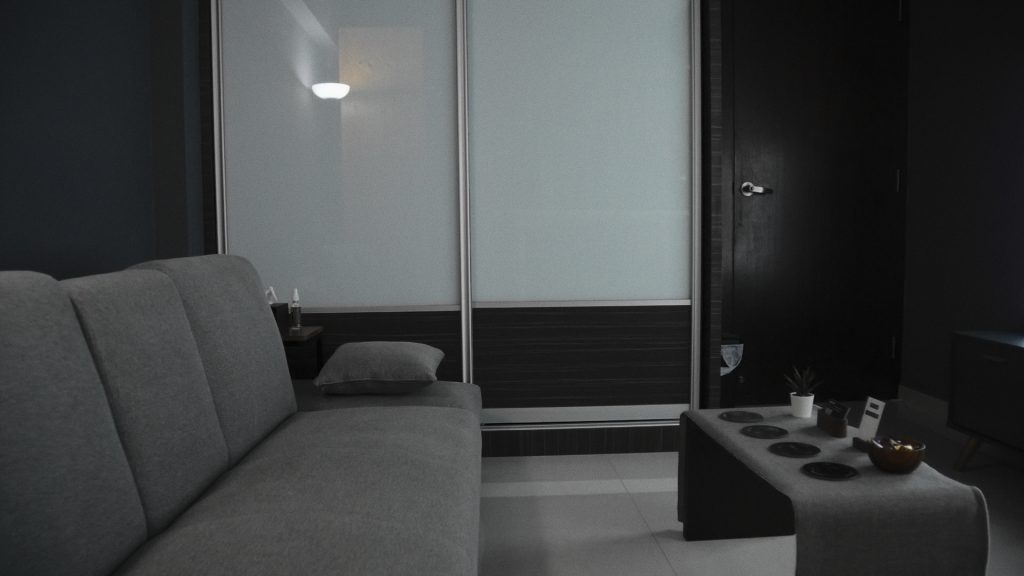
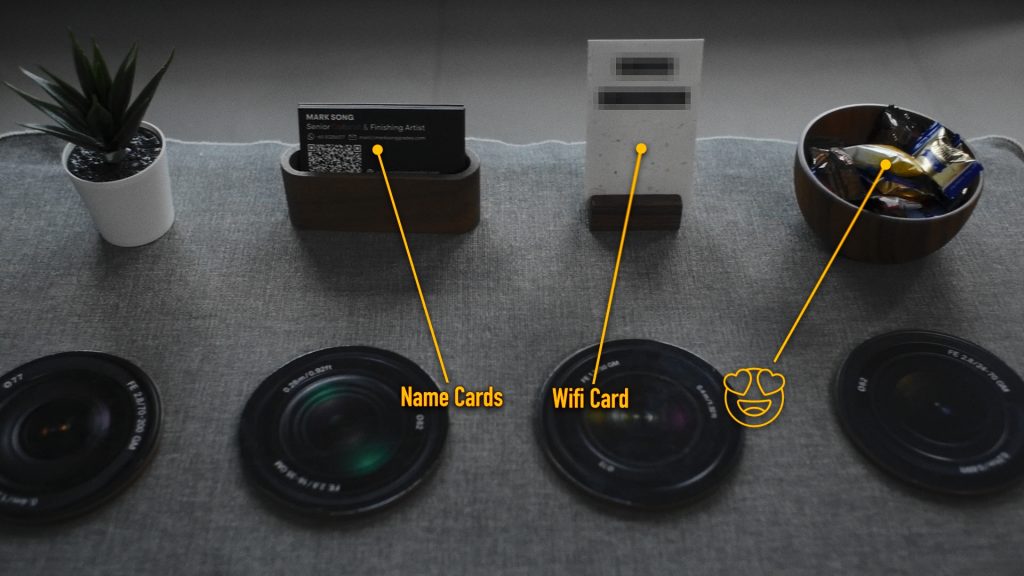
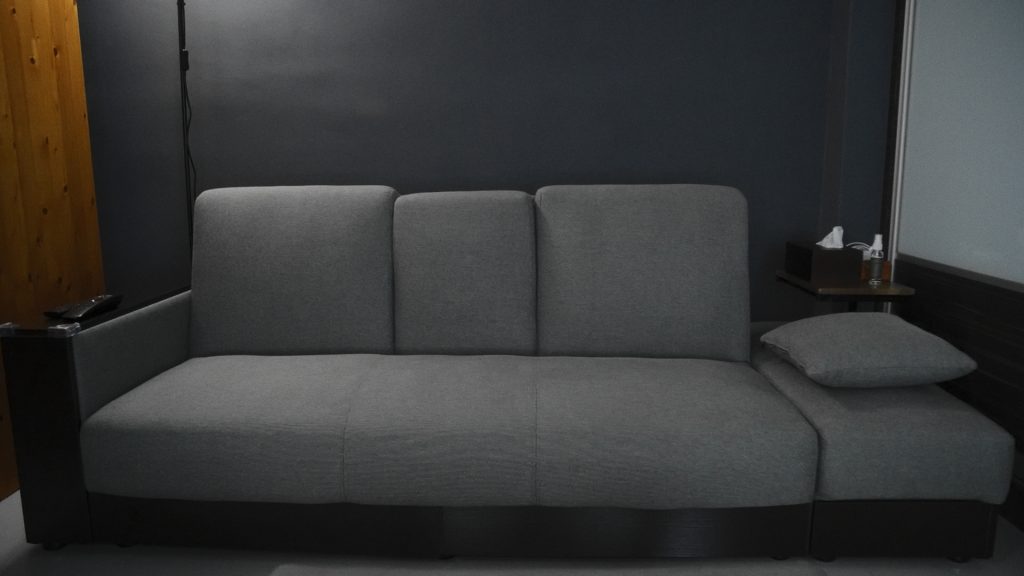
In the client area we have a cozy 4-seater couch with a coffee table where you’ll find some candy, Wi-Fi details, and my name cards.
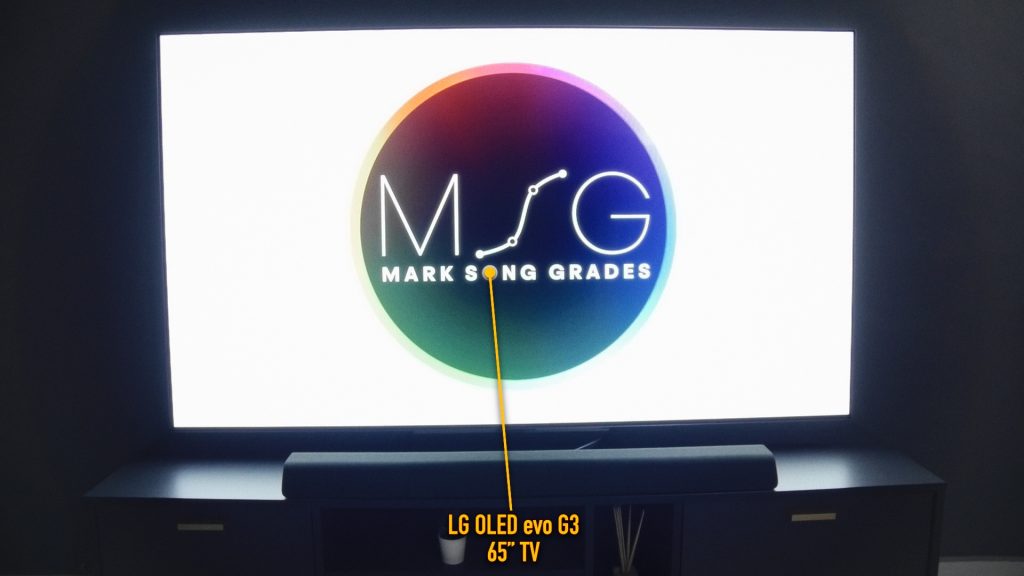
Just opposite the couch is an LG evo G3 65-inch OLED TV which I’ve fully calibrated so that clients get an accurate view of their colour graded images.
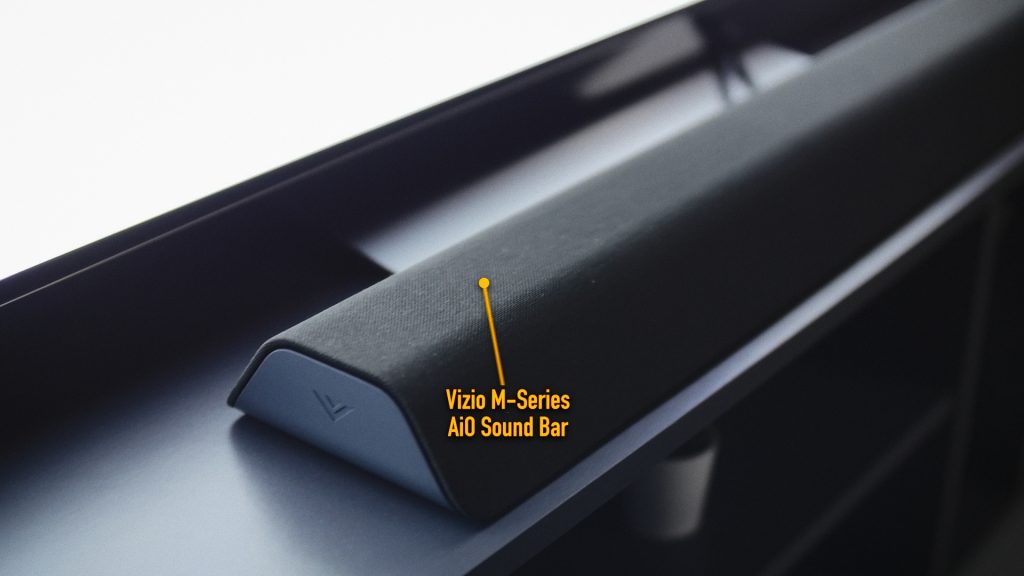
I like to keep the vibe relaxed with some soft music, usually lo-fi or easy-listening jazz, playing through the HDMI-CEC connected Vizio M-Series AiO Sound Bar.
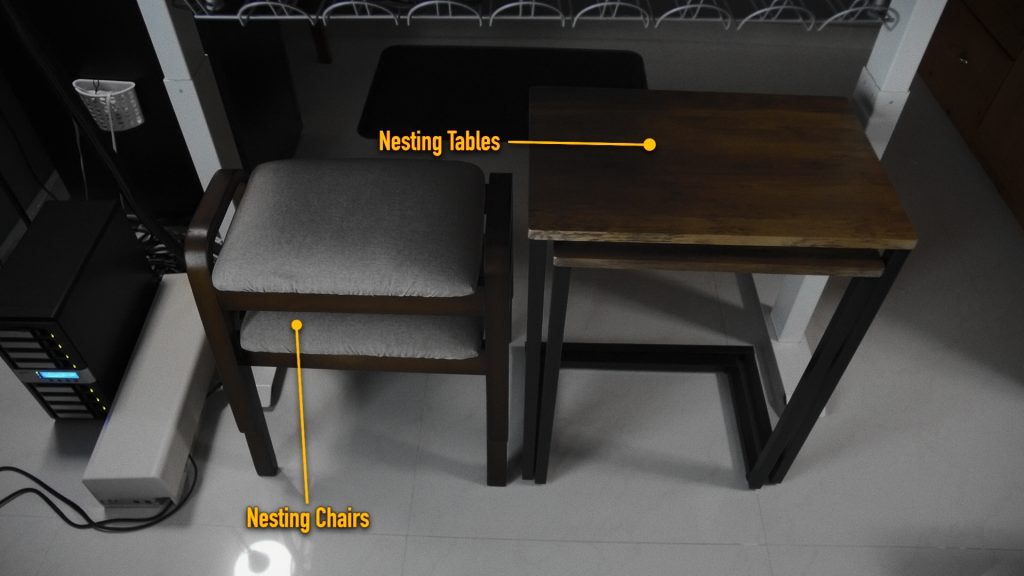
To maximise space and host more guests, I stack chairs and nesting tables underneath my standing desk. The frames of the tables fit neatly under the bottom of the sofa and hover over one’s lap, making it comfortable for my clients to work on their laptops.
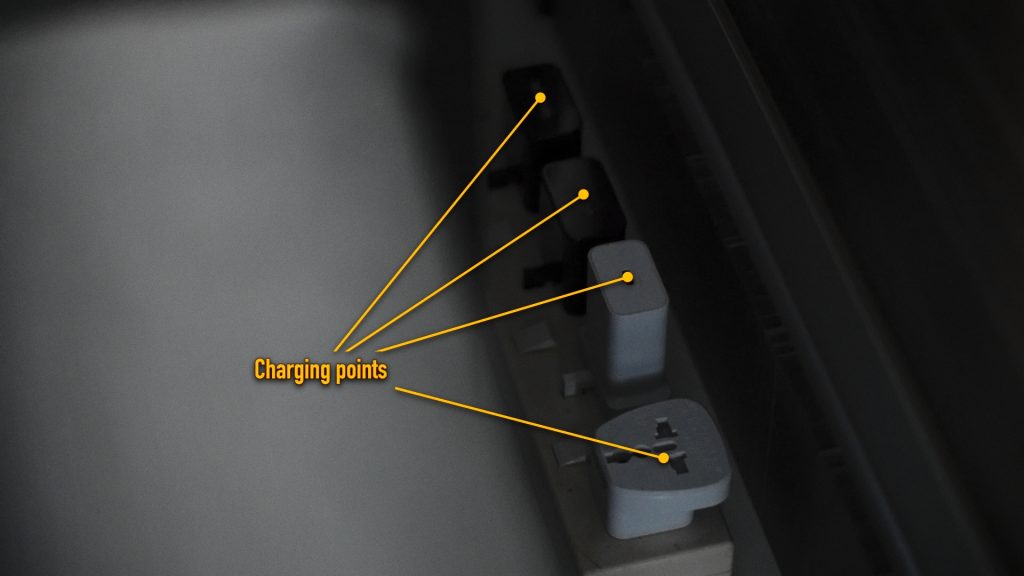
To power those laptops, I’ve placed charging points on either side of the sofa, as well as USB and lightning cables for charging phones.
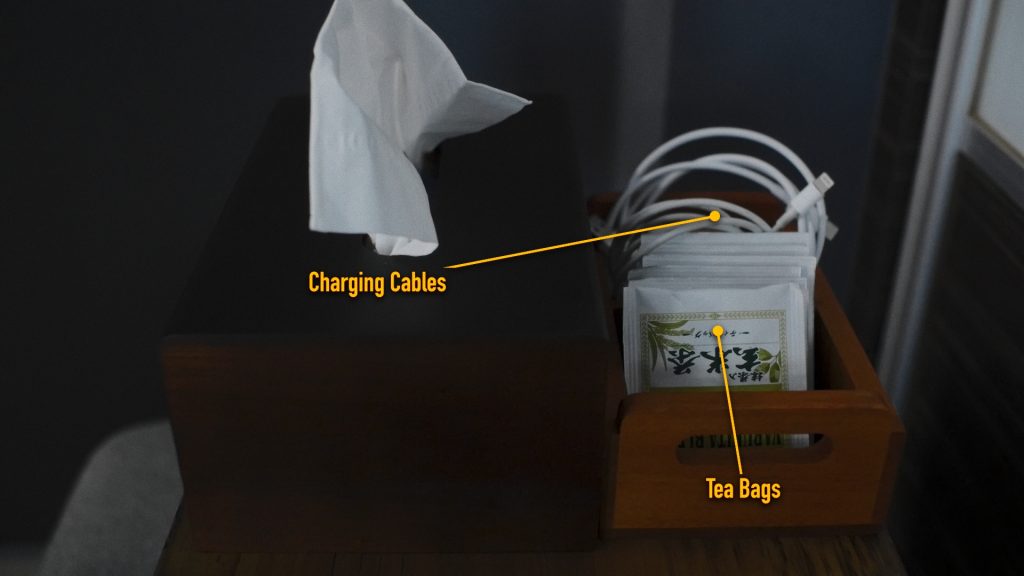
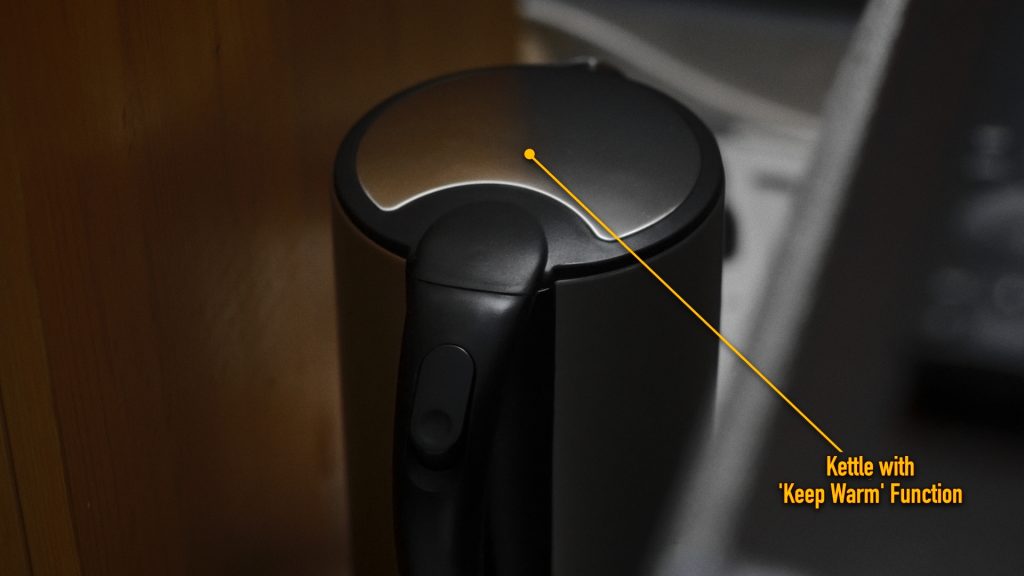
I also have a selection of tea bags and a kettle with a ‘keep warm’ function for those who enjoy tea.
Next, let’s dive into where the magic happens: my work area.
Work Area
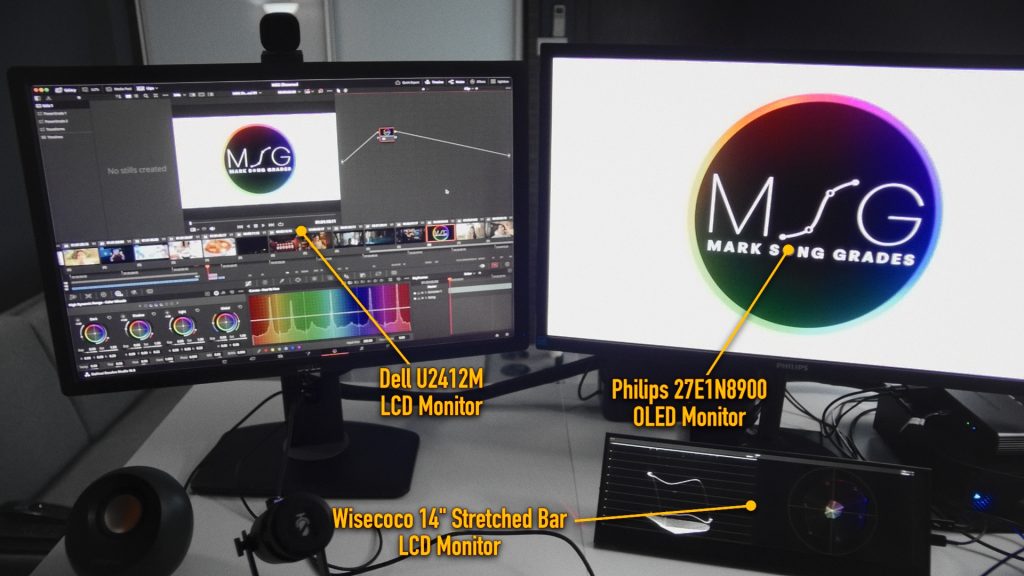
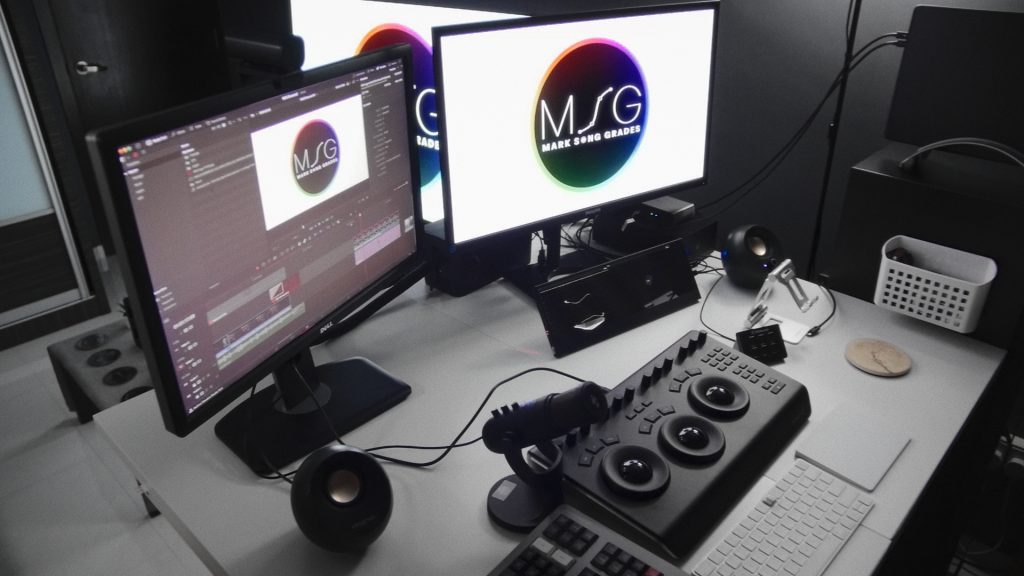
This is what I’m looking at when I’m working: a 27-inch Philips 27E1N8900 OLED reference monitor showing me the full screen image of the current shot that I’m grading, a Wisecoco 14” Stretched Bar LCD scopes monitor directly below that, interpreting the image as a waveform and vectorscope, and a 24-inch GUI monitor where I navigate the computer interface.
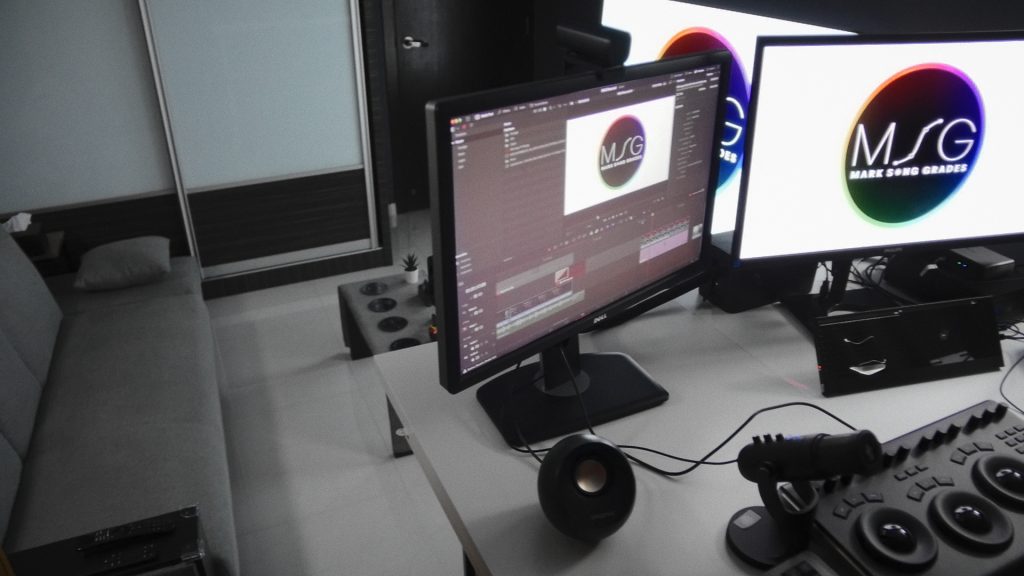
As you can see, my work space is perpendicular to the client area in order to make eye contact with them. This is an idea that I borrowed from Cullen Kelly who shared this arrangement in one of his earliest newsletters.
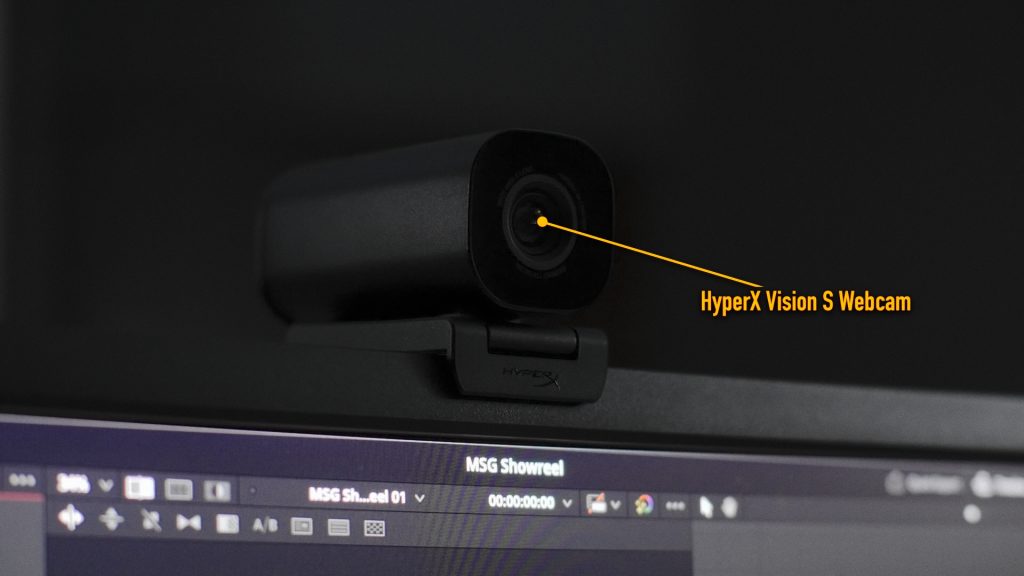
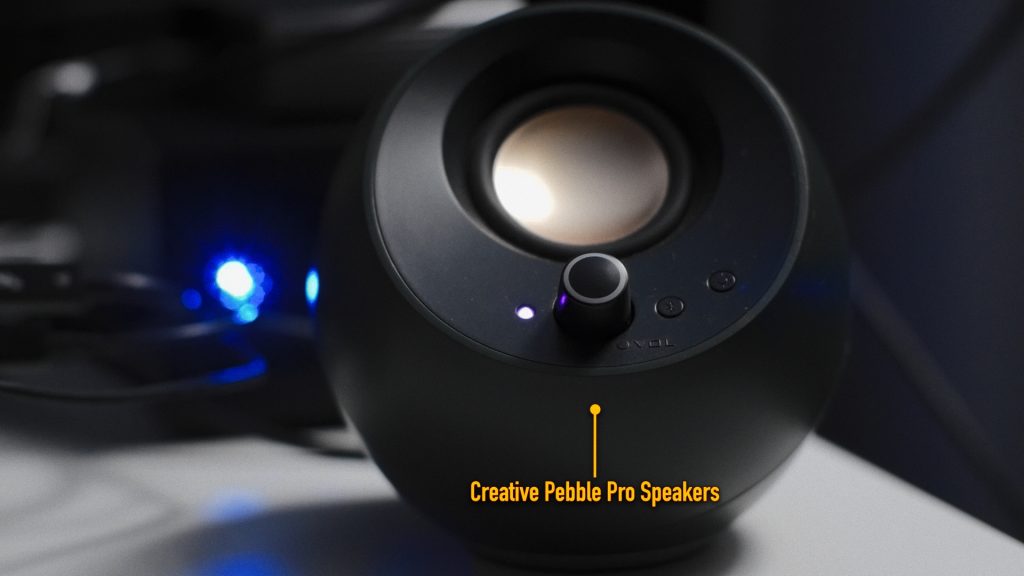
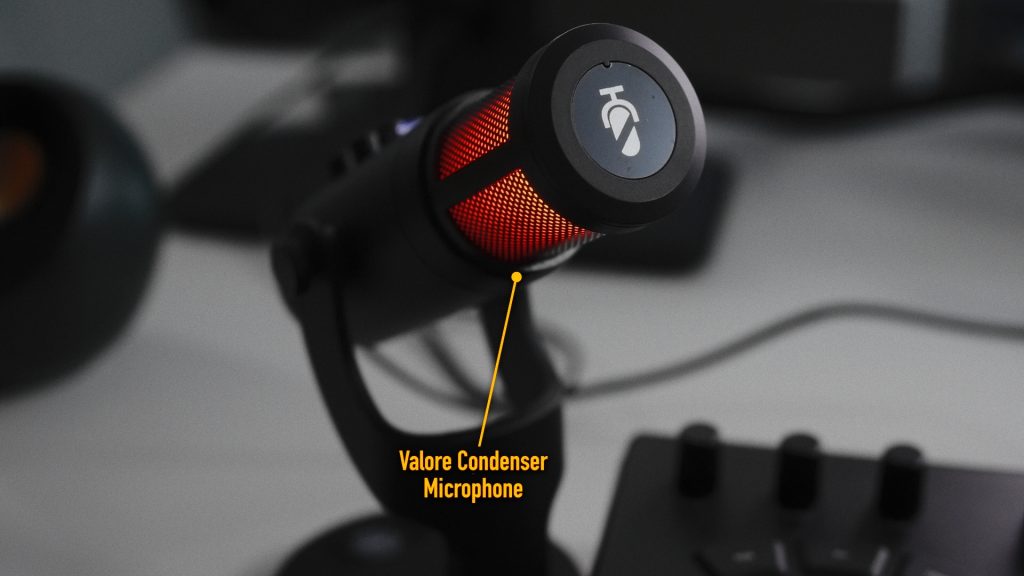
For remote grading sessions where my clients are in another location, I use a HyperX Vision S Webcam that works well in low-light so that they can still see me even while I’m working in near darkness. I have a dedicated Valore Condenser Microphone that can be tapped to mute and Creative Pebble Pro Speakers for clear communication.
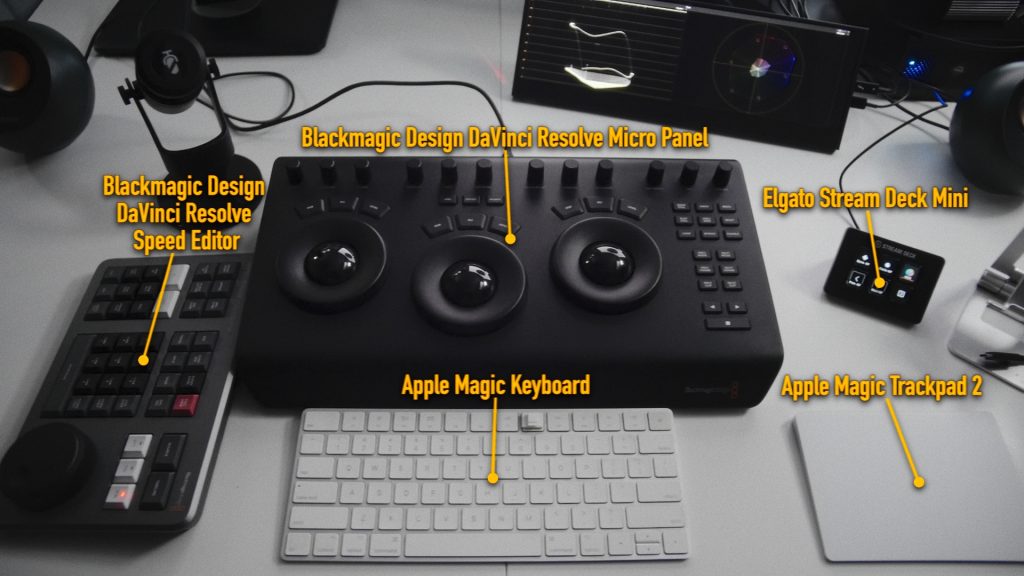
My control surfaces include a Blackmagic Design DaVinci Resolve Speed Editor, Blackmagic Design DaVinci Resolve Micro Panel, Apple Magic Keyboard, Apple Magic Trackpad 2, and an Elgato Stream Deck Mini for quick access to shortcuts. (Thanks to my good friends Eddy and Jian Cong for gifting me the Stream Deck Mini)
Lighting & Backlighting
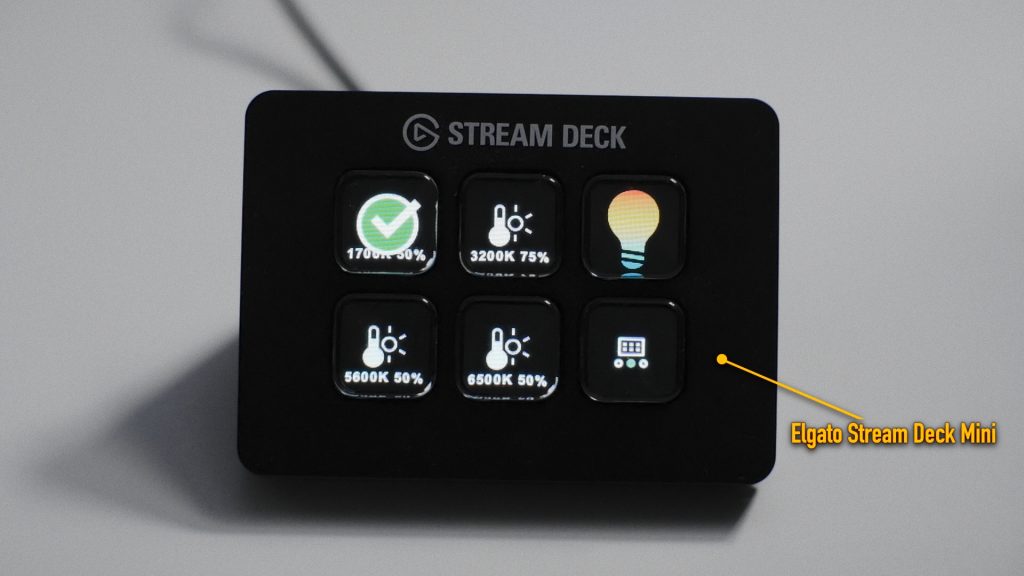
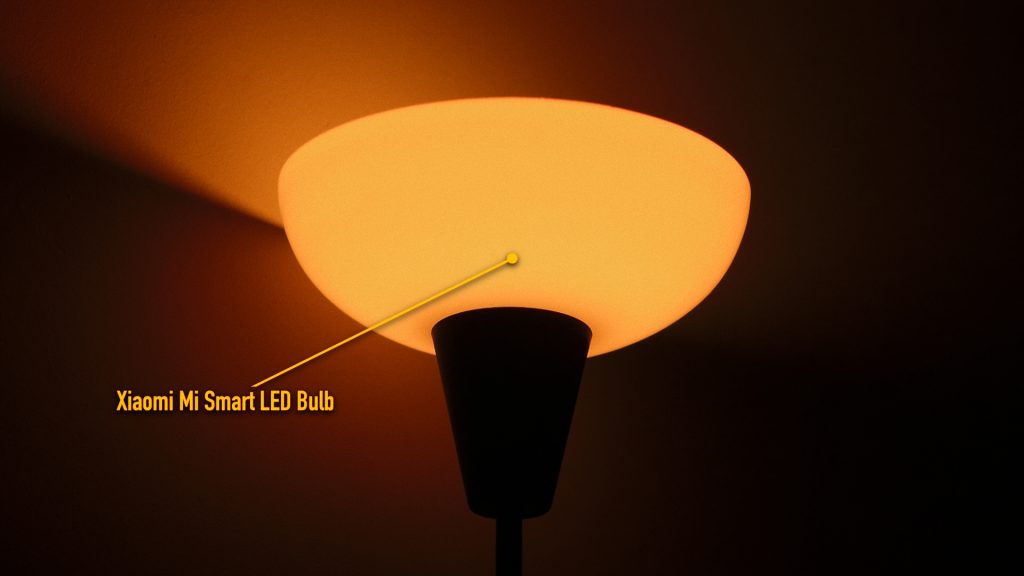
My Stream Deck Mini shortcuts include turning on and off and adjusting the colour temperature of the Xiaomi Mi Smart LED Bulbs installed in my room.
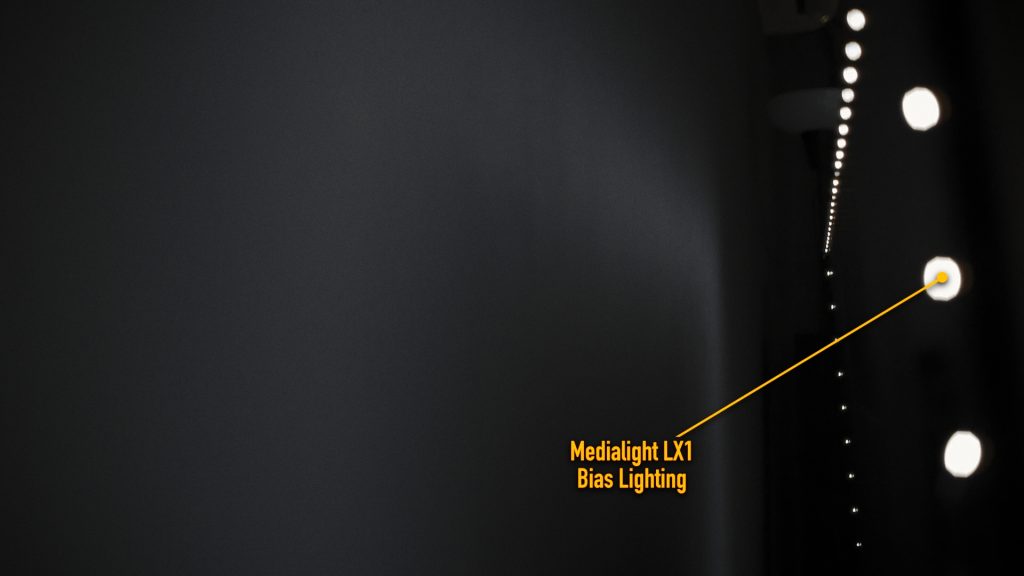
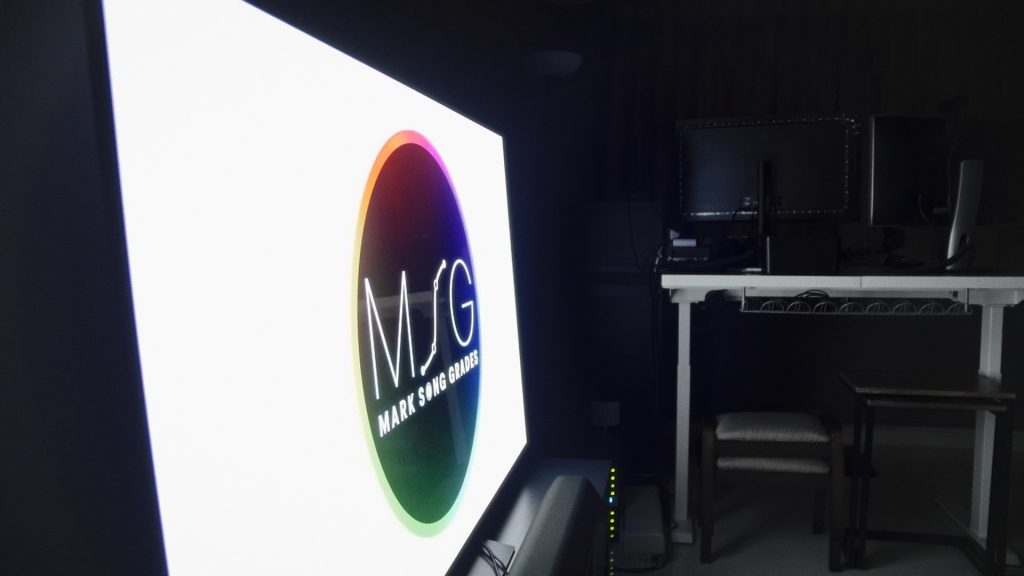
When my clients have settled down and it’s time to start grading, I will turn off the lights but leave the MediaLight LX 1 Bias Lighting behind my TV on. These are D65 white, and when bounced off the 18% grey walls, provide a very neutral surround for an optimal viewing experience.
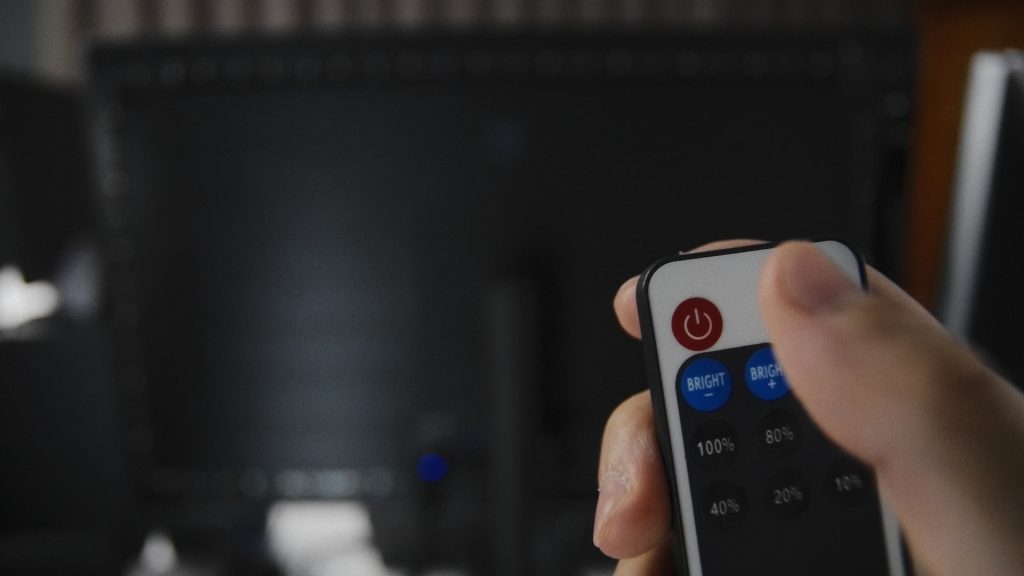
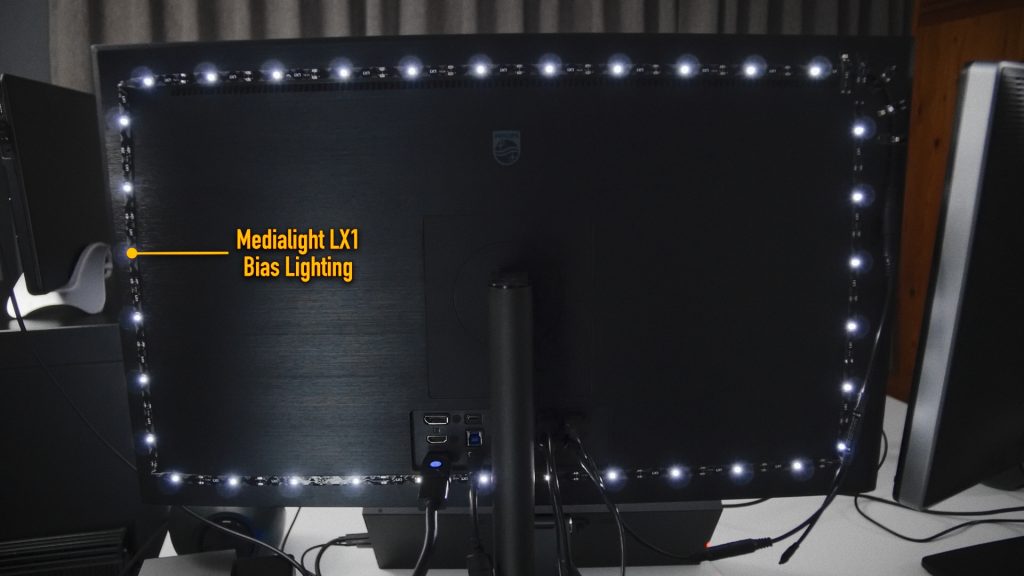
Outside of client sessions when I‘m grading alone – which is to say, with the TV off – I will turn on the MediaLight LX 1 backlights behind my reference monitor to get a neutral surround.
Since we’re looking at the back of my monitor, let’s take a quick look at some of the connections going on back there.
Connectivity
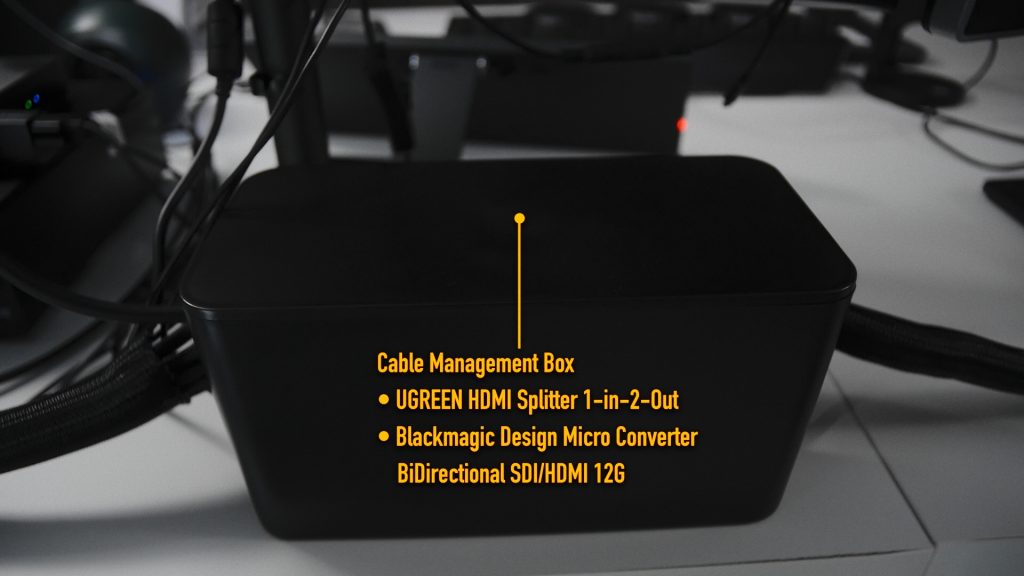
Hidden out of sight are all the cables that I’ve velcro’d up and put into sleeves, which run through a cable management box. The box also houses a UGREEN 1-in-2-Out HDMI Splitter and Blackmagic Design Micro Converter BiDirectional SDI/HDMI 12G used as a LUT box that keeps my reference monitor in a calibrated state at all times.
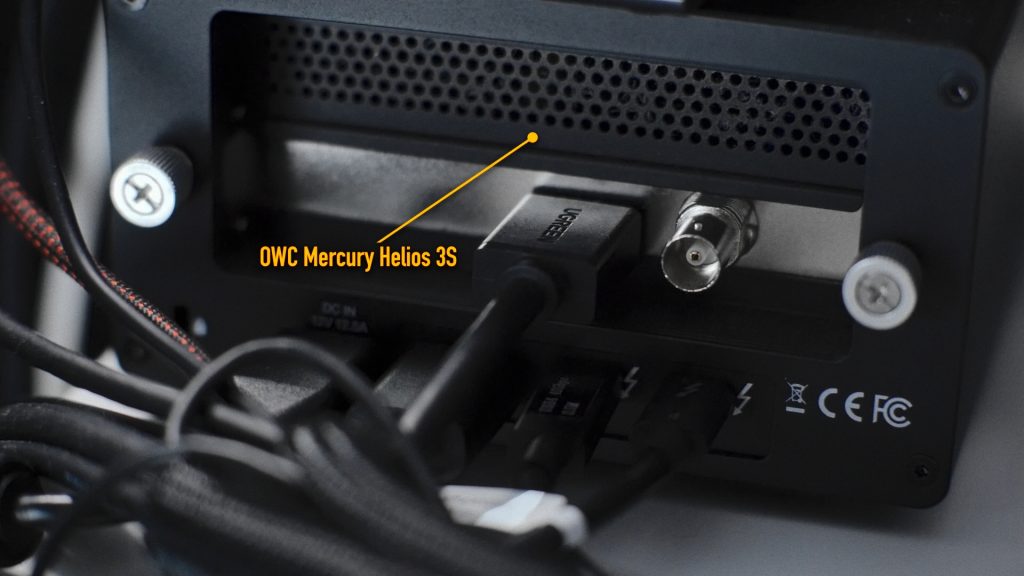
All video signal outputs have been consolidated to come out from this OWC Mercury Helios 3S Thunderbolt 3 PCIE chassis; I use the Display Port output to my GUI monitor and the USB-C video output to my scopes monitor.
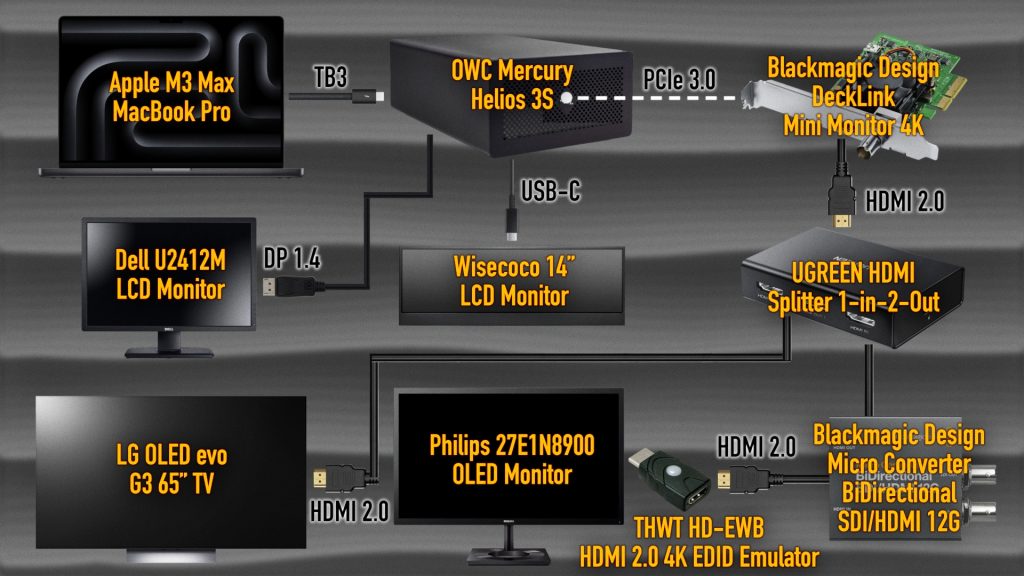
Inside the PCIE chassis is a PCIE card that can output a clean video signal from my colour grading software, which needs to get to both my client TV and reference monitor. I did this by duplicating the signal via the HDMI splitter.
My TV can store its calibration internally, but my reference monitor needs to be calibrated using a LUT to be more accurate and also needs a device to store it that calibration LUT. I achieved this by inserting the LUT box between the HDMI splitter and reference monitor.
However, for some reason, the LUT box does not transmit the correct metadata to the monitor; for example a 4K signal might be misinterpreted as a 2K signal. I solved this by inserting a THWT HD-EWB HDMI 2.0 4K EDID Emulator after the LUT box, which passes along the correct resolution metadata to the monitor.
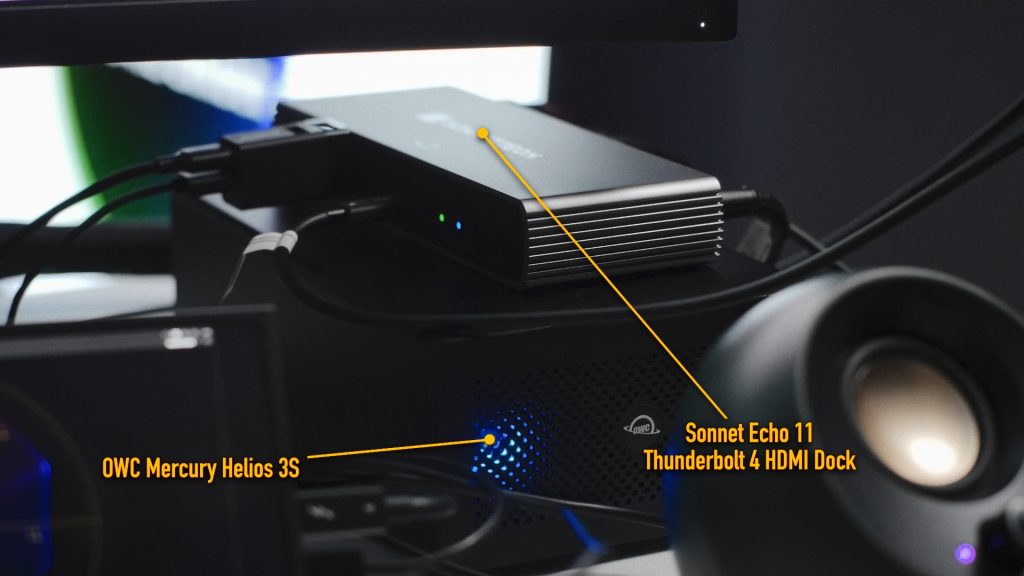
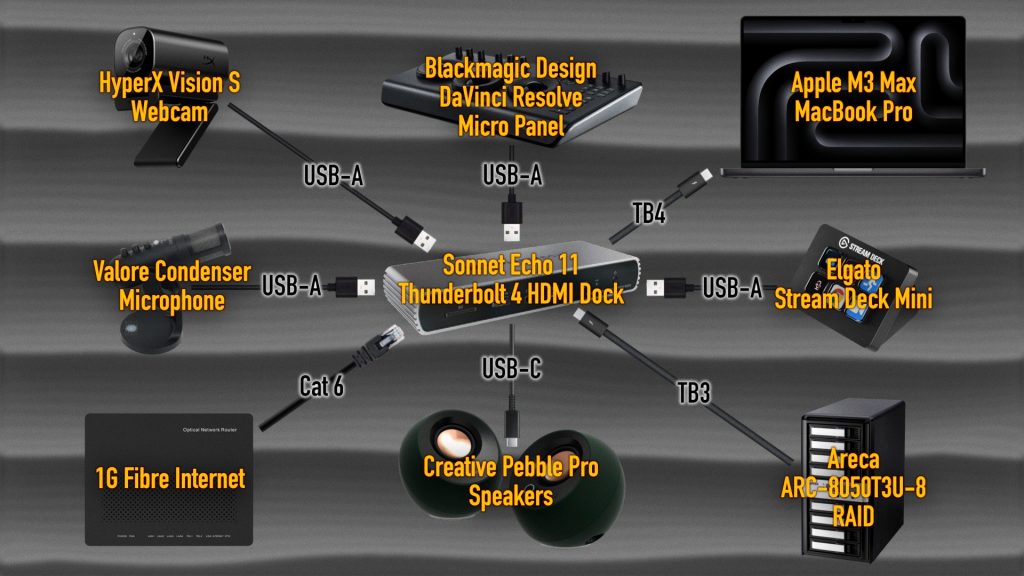
While the PCIE chassis handles the monitoring outputs from my computer, I use a Sonnet Echo 11 Thunderbolt 4 HDMI Dock to handle the wired inputs to the computer, such as the webcam, microphone, Ethernet, Stream Deck Mini, Micro Panel and RAID storage. It also outputs sound to the speakers.
Storage
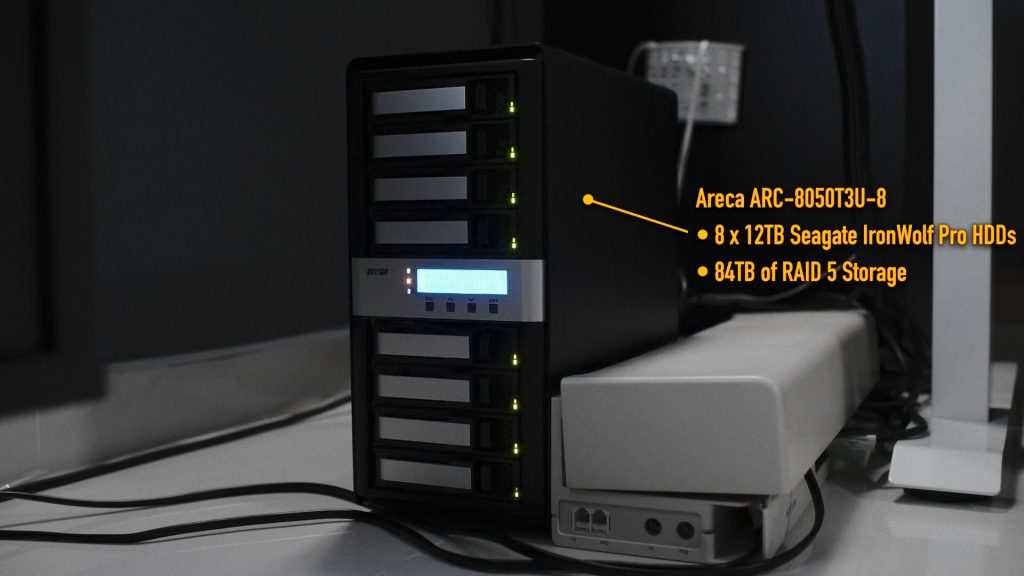
On the floor beside my desk is an Areca ARC-8050T3U-8 enclosure with 8 x Seagate IronWolf Pro 12TB HDDs in a RAID 5 configuration for a total of 84TB of redundant storage. This means that if any of the 8 hard drives inside dies, I can still replace it with a spare drive on hand to rebuild the RAID and continue working from the RAID unit.
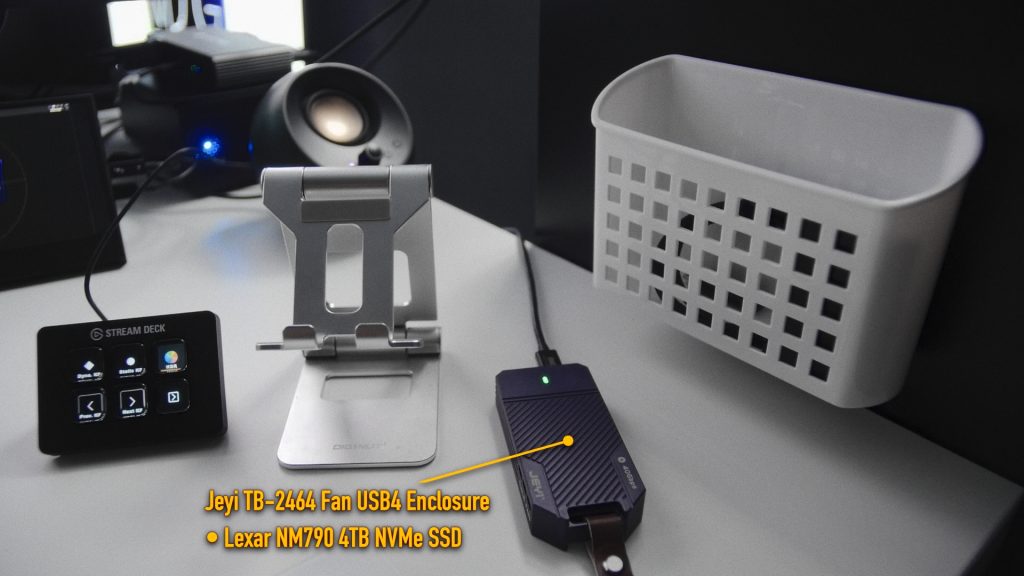
I also have a spare Thunderbolt 4 cable connected to my dock that I can use to plug in my portable Lexar NM790 4TB NVMe SSD encased in a Jeyi TB-2464 Fan USB 4.0 Enclosure, client hard drives, or even charge my phone.
Computer
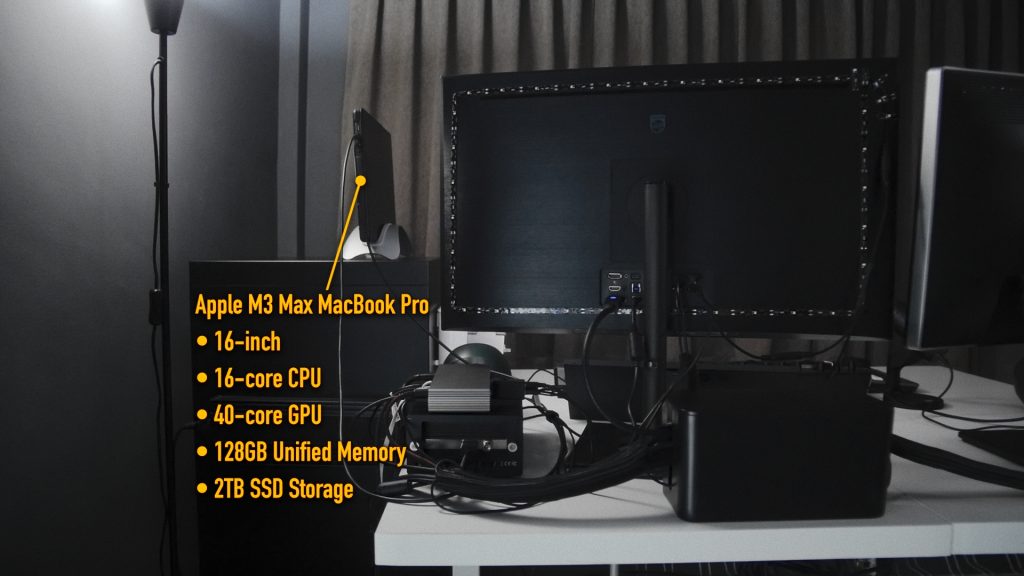
Both the PCIE chassis and Thunderbolt 4 dock are plugged into my 16-inch Apple M3 Max MacBook Pro, which also powers it. I maxed out the specs for this one (16-core CPU, 40-core GPU, 128GB RAM) except for the internal storage which sits at 2TB.
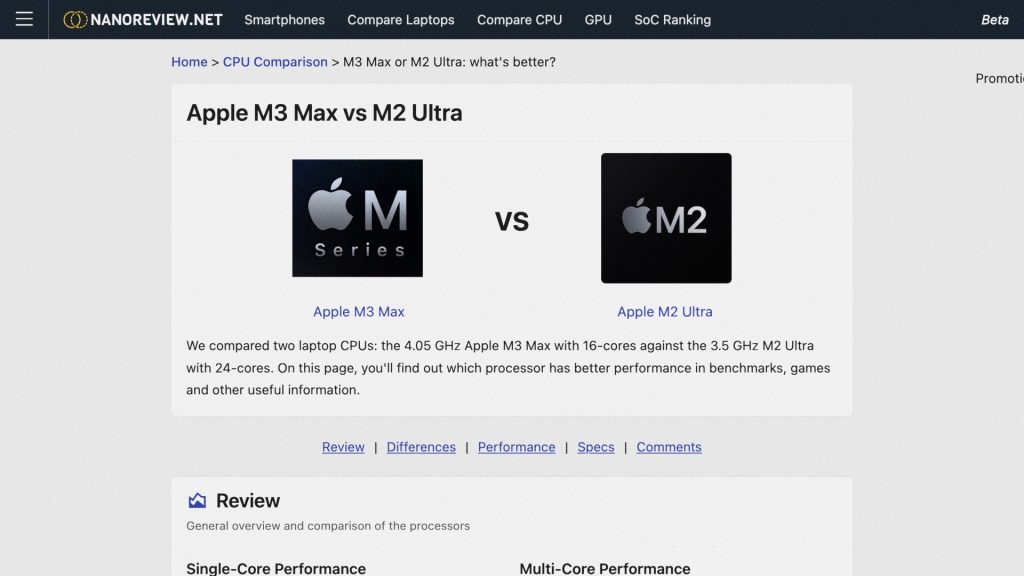
You might be wondering, however: why get a MacBook Pro instead of a Mac Studio or desktop computer? Well, for one, it gives me the flexibility of using it as a portable workstation when clients request that I bring my setup to their office. Moreover, this thing is a workhorse whose performance is comparable to the current best Mac Studio that you can buy, so I’m not sacrificing any power here. It truly is the best of both worlds.
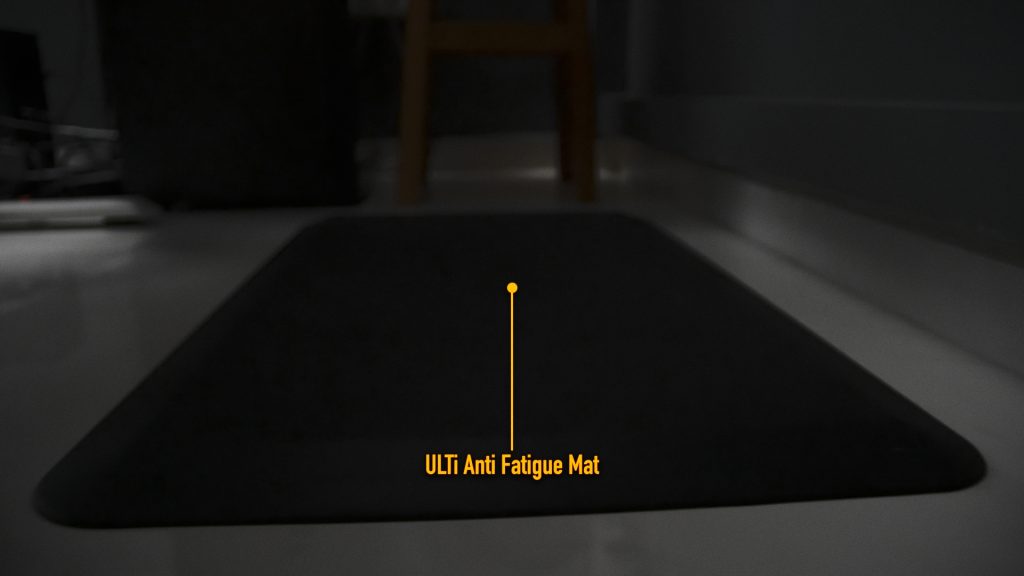
The last bit of gear that I use in my work area is a Mini ULTi Anti-Fatigue Mat that is the perfect accompaniment to my standing desk. Sometimes I switch it up with a stool when I get tired of standing.
This has been a general overview of my studio, but there’s so still much more detail I’d like to dive into in the future. Thanks for joining me on this tour of my home colour grading studio!
Disclaimer: This article contains affiliate links.